AWSのスポットインスタンス(Zabbix)を手動で止めてみた。
目的
・スポットインスタンスを手動で止められると聞いたので実践してみたい
・API検証用のZabbixサーバーを構築したい
環境
OS:Amazon Linux 2
インスタンスタイプ:t2.micro
Zabbix :4.0.16
MariaDB:5.5
実践
スポットインスタンス作成
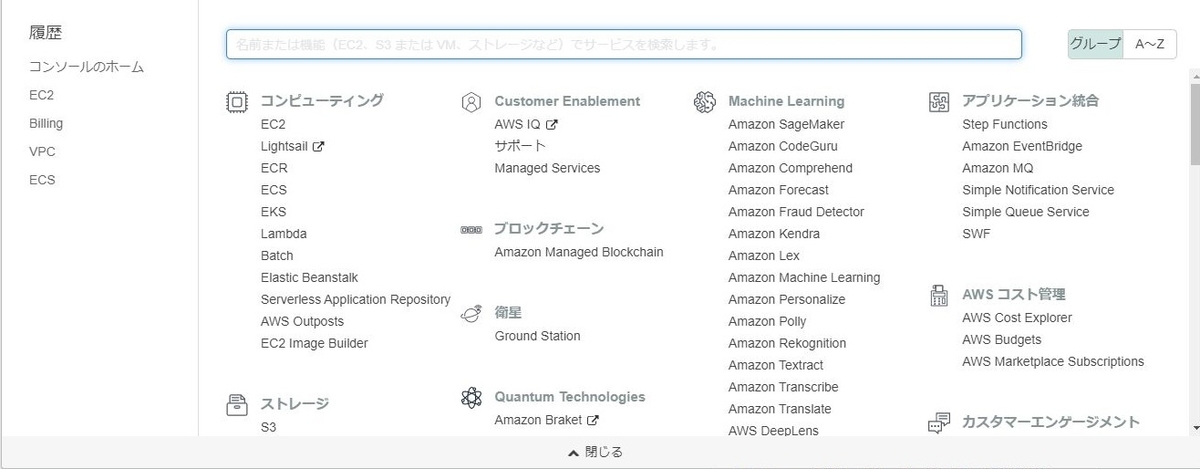
まず、AWSのコンソール画面から画面上部のサービスをクリックします。

表示された画面からEC2をクリックします。
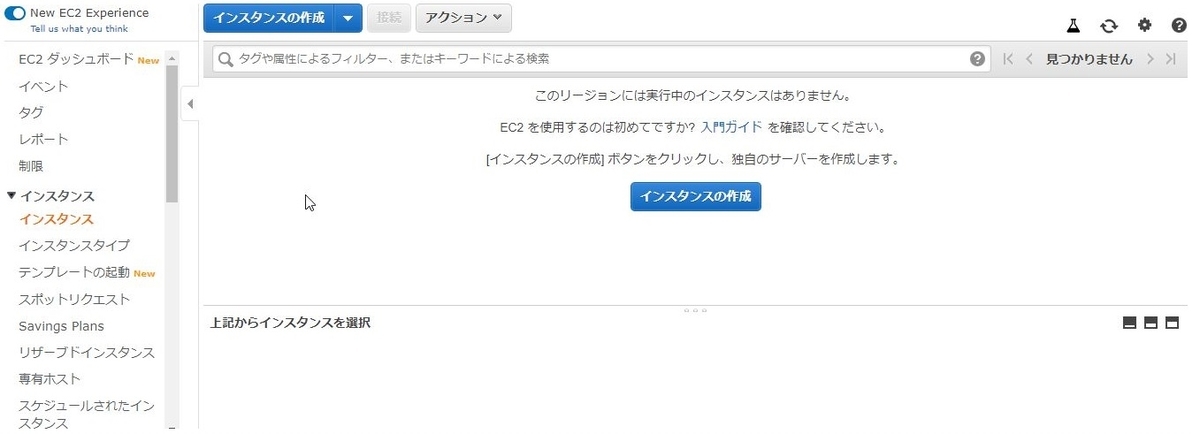
EC2画面からインスタンス画面に移動し、画面上部のインスタンス作成をクリックします。
AMIの選択でAmazon Linux 2を選択します。

インスタンスタイプの選択でt2.microのまま、インスタンスの詳細の設定に進みます。

★ここからの設定が今回のポイントになります!
購入のオプションのスポットインスタンスのリクエストにチェックを入れる。
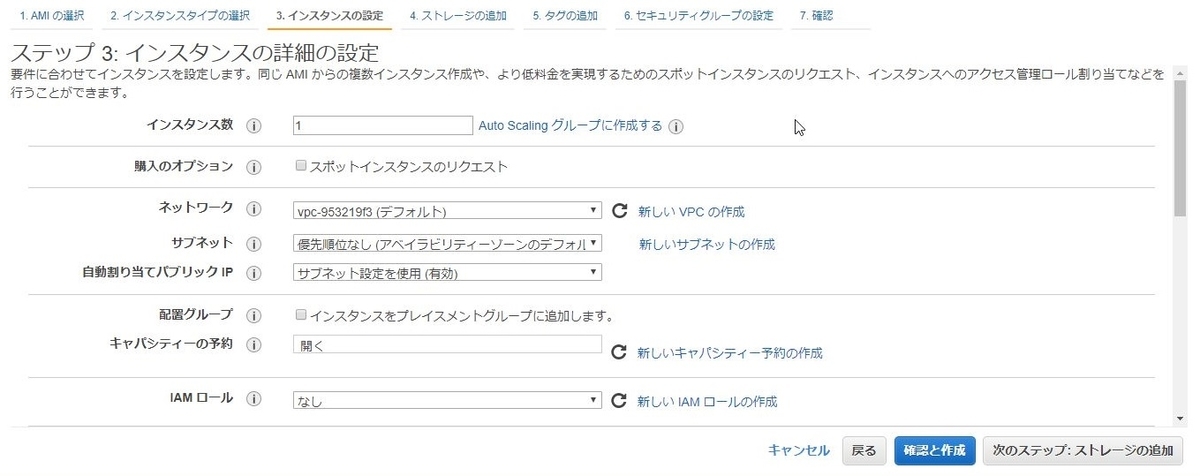
チェック後に表示された最高価格に値を入力し、永続的リクエストにチェックを入れます。
チェック後に表示された中断操作を停止に設定します。

そのほかの設定をデフォルト設定のまま、ストレージの追加に進みます。
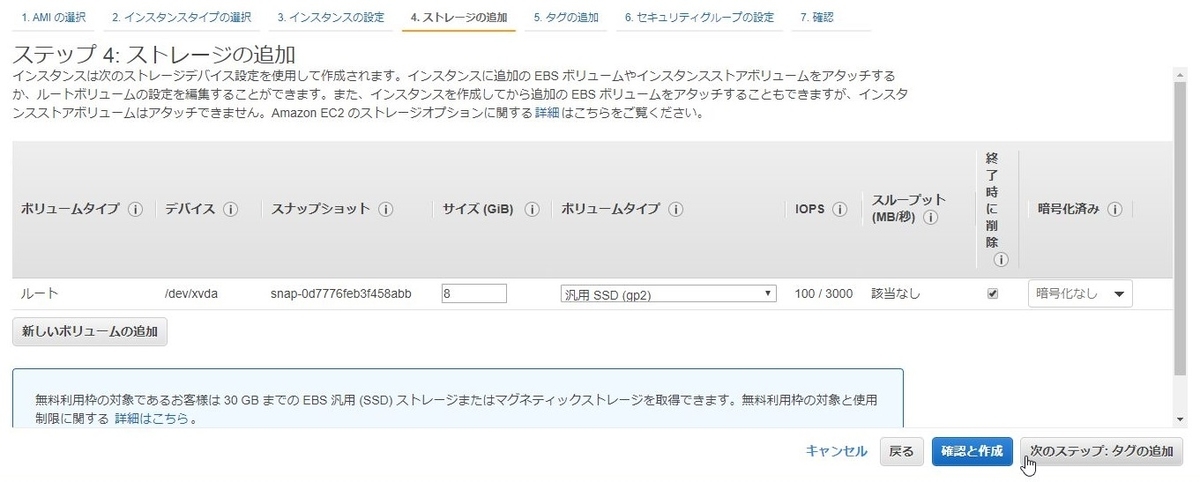
デフォルト設定のまま、タグの追加に進みます。

デフォルト設定のまま、セキュリティグループの設定に進みます。
Zabbixで使うのでHTTPも追加し、ソースをMyIPのみに絞ります。

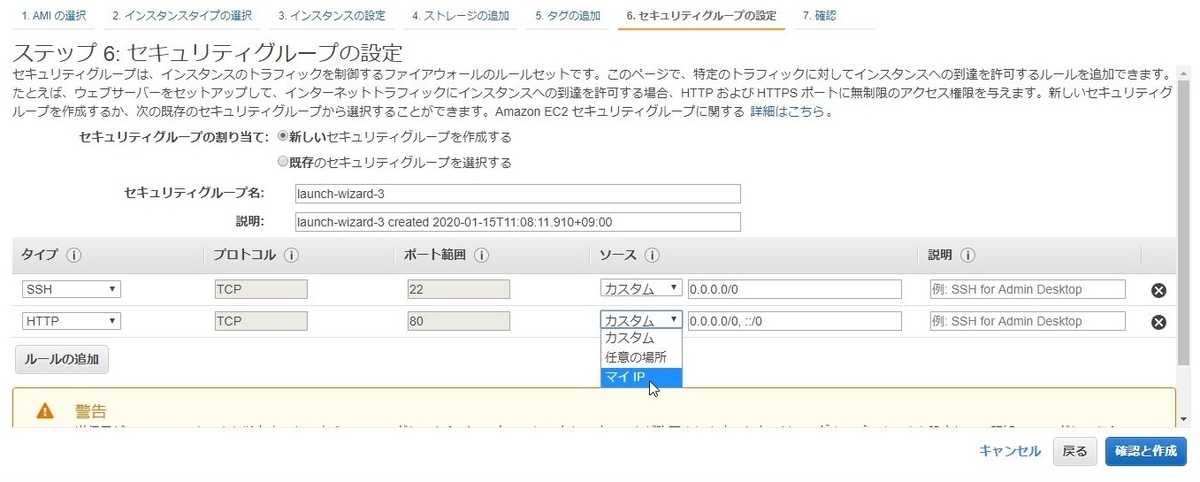
確認と作成をクリックします。
起動をクリックします。
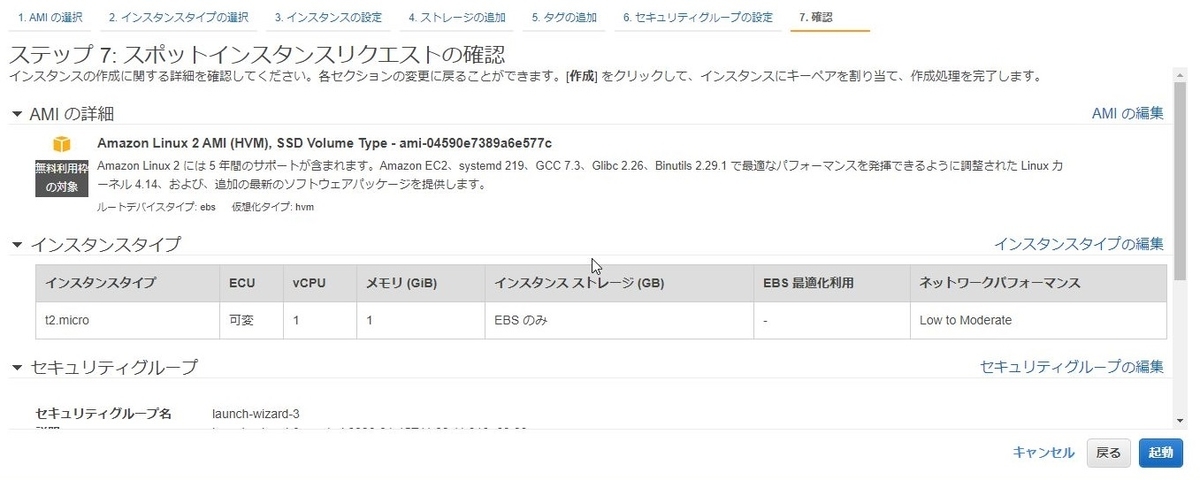
キーペア作成画面で新規のキーを作成します。

確認にチェックを入れ、スポットインスタンスのリクエストをクリックします。
スポットリクエストを表示をクリックします。

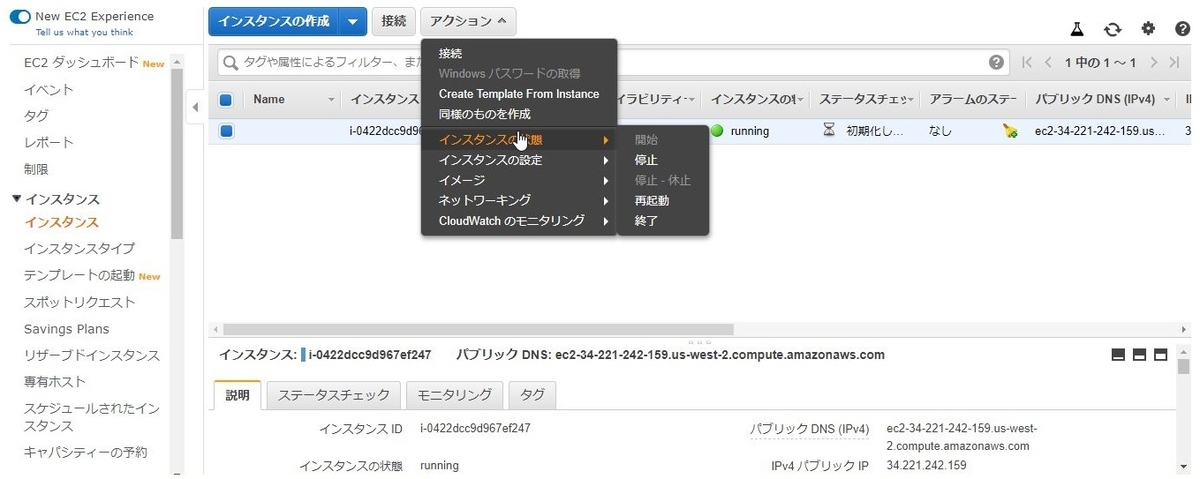
インスタンスに移動します。

インスタンスが作成されました!停止もできそうです!

Zabbixサーバの構築
※以下に記載されている # や $ から始まるものはコマンドです。
ホスト名変更
teratermでインスタンスのグローバルIPへsshでアクセスします。
 「RSA/DSA/ECDSA/ED25519鍵を使う」を選択し、インスタンスを作成した際に設定したキーを指定します。
※ユーザー名:ec2-user

ログイン出来たら、以下を参考にホスト名を変更し、再起動します。 https://docs.aws.amazon.com/ja_jp/AWSEC2/latest/UserGuide/set-hostname.html
$ sudo hostnamectl set-hostname [ホスト名]

$ vim /etc/sysconfig/network
  ※/etc/sysconfig/networkに以下を追記
    HOSTNAME=[ホスト名]

$ sudo reboot
起動してきたら再度ログインしホスト名が変更できていることを確認します。
$ hostname
パッケージのインストール
rootユーザーに変更します。
$ sudo su -
ZabbixのリポジトリのGPGキーをインポートします。
# rpm -import http://repo.zabbix.com/RPM-GPG-KEY-ZABBIX
Zabbixのリポジトリを追加します。
# rpm -i https://repo.zabbix.com/zabbix/4.0/rhel/7/x86_64/zabbix-release-4.0-2.el7.noarch.rpm
必要なZabbix関連のパッケージをインストールします。
※zabbix-senderとzabbix-getは必須ではありません。
# yum install zabbix-server-mysql zabbix-web-mysql zabbix-agent zabbix-web-japanese zabbix-sender zabbix-get

Loaded plugins: extras_suggestions, langpacks, priorities, update-motd
(略)
Complete!
Zabbixのパッケージがインストールされていることを確認します。
# rpm -qa | grep zabbix
zabbix-server-mysql-4.0.16-1.el7.x86_64
zabbix-get-4.0.16-1.el7.x86_64
zabbix-web-mysql-4.0.16-1.el7.noarch
zabbix-web-japanese-4.0.16-1.el7.noarch
zabbix-sender-4.0.16-1.el7.x86_64
zabbix-release-4.0-2.el7.noarch
zabbix-web-4.0.16-1.el7.noarch
zabbix-agent-4.0.16-1.el7.x86_64
DBのインストールとセットアップ
MariaDB関連のパッケージをインストールします。
# yum install mariadb-server mariadb

Loaded plugins: extras_suggestions, langpacks, priorities, update-motd
(略)
Complete!
MariaDBのパッケージがインストールされていることを確認します。
# rpm -qa | grep mariadb
mariadb-5.5.64-1.amzn2.x86_64
mariadb-libs-5.5.64-1.amzn2.x86_64
mariadb-server-5.5.64-1.amzn2.x86_64
# systemctl enable mariadb
Created symlink from /etc/systemd/system/multi-user.target.wants/mariadb.service to /usr/lib/systemd/system/mariadb.service.

# systemctl is-enabled mariadb
enabled
MariaDBを起動します。
# systemctl start mariadb
# systemctl status mariadb
● mariadb.service - MariaDB database server
   Loaded: loaded (/usr/lib/systemd/system/mariadb.service; enabled; vendor preset: disabled)
   Active: active (running) since Fri 2020-01-17 06:38:23 UTC; 4s ago
(略)
MariaDBの初期セットアップをします。
# mysql_secure_installation

NOTE: RUNNING ALL PARTS OF THIS SCRIPT IS RECOMMENDED FOR ALL MariaDB
      SERVERS IN PRODUCTION USE!  PLEASE READ EACH STEP CAREFULLY!

In order to log into MariaDB to secure it, we'll need the current
password for the root user.  If you've just installed MariaDB, and
you haven't set the root password yet, the password will be blank,
so you should just press enter here.

Enter current password for root (enter for none):※何も入力せずにEnter
OK, successfully used password, moving on...

Setting the root password ensures that nobody can log into the MariaDB
root user without the proper authorisation.

Set root password? [Y/n] Y
New password:※rootユーザーのパスワードを設定する
Re-enter new password:※r再度rootユーザーのパスワードを入力する
Password updated successfully!
Reloading privilege tables..
 ... Success!


By default, a MariaDB installation has an anonymous user, allowing anyone
to log into MariaDB without having to have a user account created for
them.  This is intended only for testing, and to make the installation
go a bit smoother.  You should remove them before moving into a
production environment.

Remove anonymous users? [Y/n]※何も入力せずにEnter
 ... Success!

Normally, root should only be allowed to connect from 'localhost'.  This
ensures that someone cannot guess at the root password from the network.

Disallow root login remotely? [Y/n]※何も入力せずにEnter
 ... Success!

By default, MariaDB comes with a database named 'test' that anyone can
access.  This is also intended only for testing, and should be removed
before moving into a production environment.

Remove test database and access to it? [Y/n]※何も入力せずにEnter
 - Dropping test database...
 ... Success!
 - Removing privileges on test database...
 ... Success!

Reloading the privilege tables will ensure that all changes made so far
will take effect immediately.

Reload privilege tables now? [Y/n]※何も入力せずにEnter
 ... Success!

Cleaning up...

All done!  If you've completed all of the above steps, your MariaDB
installation should now be secure.

Thanks for using MariaDB!
MariaDBの初期セットアップが完了したので、Zabbixのデータベースを作成します。
# mysql -uroot -p
Enter password:※先ほど作成したrootユーザーのパスワードを入力する
Welcome to the MariaDB monitor.  Commands end with ; or \g.
(略)
MariaDB [(none)]>create database zabbix character set utf8 collate utf8_bin;
Query OK, 1 row affected (0.00 sec)

※以下がzabbixユーザーの作成コマンドです。
 'password'を変更することでZabbixユーザーのパスワードを任意で決めることができます。
MariaDB [(none)]>grant all privileges on zabbix.* to zabbix@localhost identified by 'password';
Query OK, 0 rows affected (0.00 sec)

MariaDB [(none)]> quit;
Bye
ZabbixのDBに必要なテーブルの定義を設定します。
zcat /usr/share/doc/zabbix-server-mysql*/create.sql.gz | mysql -uzabbix -p zabbix
Enter password:※先ほど作成したzabbixユーザーのパスワードを入力します。
Zabbix関連の設定
/etc/zabbix/zabbix_server.confのバックアップを作成し、編集します。
※MariaDB上のzabbixユーザーのパスワードを設定します。
# cp  -p /etc/zabbix/zabbix_server.conf /etc/zabbix/zabbix_server.conf.org

# ls /etc/zabbix/zabbix_server.conf*
/etc/zabbix/zabbix_server.conf  /etc/zabbix/zabbix_server.conf.org

# vim /etc/zabbix/zabbix_server.conf
 ※124行目あたりの以下の部分を編集します。
    変更前:# DBPassword=
    変更後:DBPassword=MariaDBのzabbixユーザーのパスワード
バックアップファイルとの差分を確認をします。
# diff /etc/zabbix/zabbix_server.conf /etc/zabbix/zabbix_server.conf.org
124c124
< DBPassword=password
---
> # DBPassword=
編集した箇所のみ表示されれば、問題ありません。
/etc/httpd/conf.d/zabbix.confのバックアップを作成し、編集します。
※GUI上の時刻表示を変更します。
# cp -p /etc/httpd/conf.d/zabbix.conf /etc/httpd/conf.d/zabbix.conf.org

# ls /etc/httpd/conf.d/zabbix.conf*
/etc/httpd/conf.d/zabbix.conf  /etc/httpd/conf.d/zabbix.conf.org

# vim /etc/httpd/conf.d/zabbix.conf
 ※20行目あたりの以下の部分を編集します。
    変更前:# php_value date.timezone Europe/Riga
    変更後:php_value date.timezone Asia/Tokyo

# diff /etc/httpd/conf.d/zabbix.conf /etc/httpd/conf.d/zabbix.conf.org
20c20
<         php_value date.timezone Asia/Tokyo
---
>         # php_value date.timezone Europe/Riga
設定が完了したら、関連サービスの自動起動を設定し再起動します。
# systemctl enable zabbix-server zabbix-agent httpd
Created symlink from /etc/systemd/system/multi-user.target.wants/zabbix-server.service to /usr/lib/systemd/system/zabbix-server.service.
Created symlink from /etc/systemd/system/multi-user.target.wants/zabbix-agent.service to /usr/lib/systemd/system/zabbix-agent.service.
Created symlink from /etc/systemd/system/multi-user.target.wants/httpd.service to /usr/lib/systemd/system/httpd.service.

# systemctl restart zabbix-server zabbix-agent httpd
ZabbixのWebGUIにアクセス
webブラウザから「 http://ZabbxiサーバのグローバルIP/zabbix 」にアクセスします。
※Zabbixの画面が表示されない場合は、AWSのセキュリティグループを確認し80番ポートがあっているか確認してください。
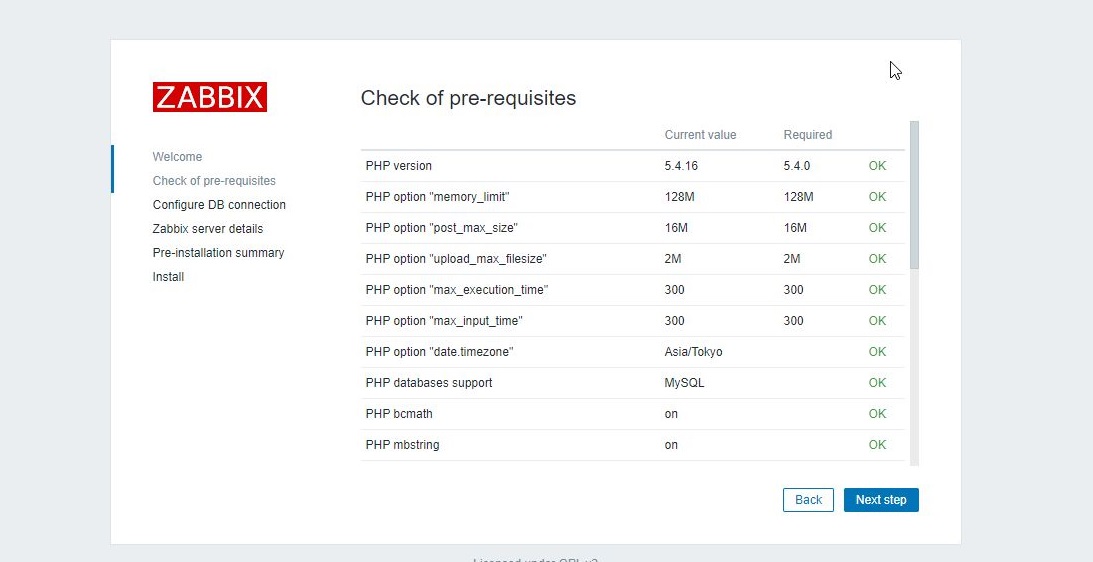
以下の画面が表示されたら、画面右下の「Next step」をクリックします。
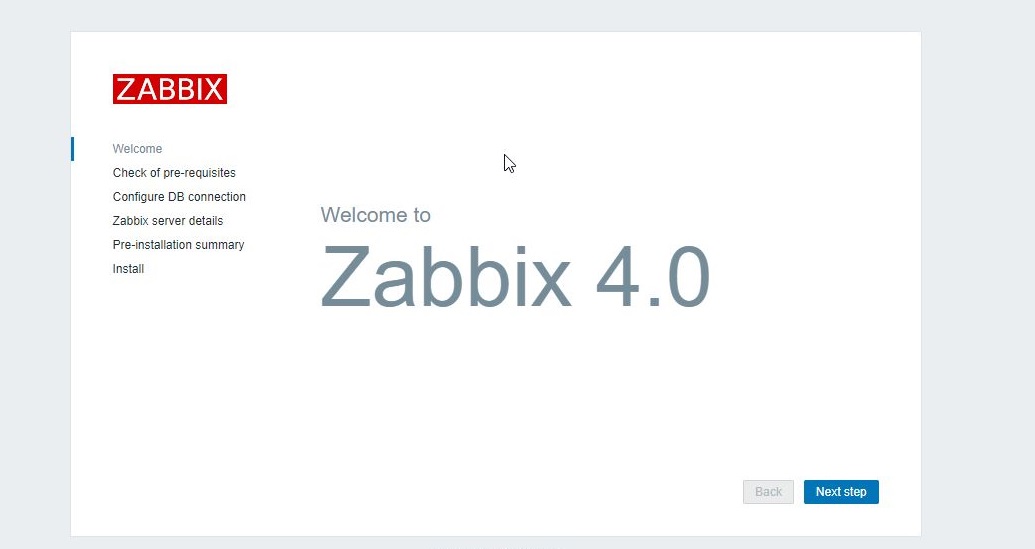
画面に表示されている項目が、全て「OK」になっていることを確認してください。
問題がなければ、「Next step」をクリックします。
Passwordの欄には、MariaDB上のzabbixユーザーのパスワードを入力し、「Next step」をクリックします。

Zabbxiサーバーの表示名を入力してください。(任意)
「Next step」をクリックします。

表示された確認内容に問題がなければ、「Next step」をクリックします。

「Finish」をクリックします。

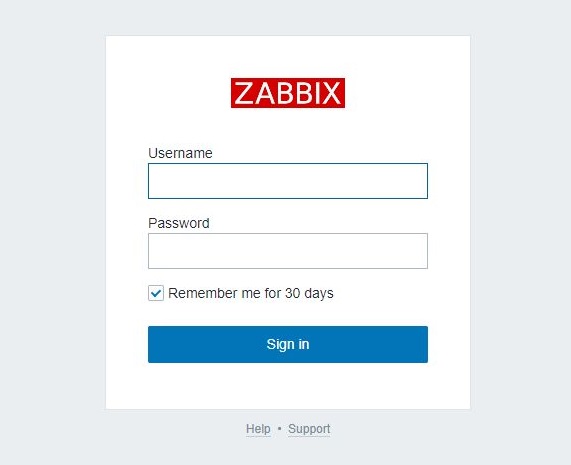
Zabbixのログイン画面が表示されたら、以下を入力し「Sign in」をクリックします。
Username:Admin
Password:zabbix

ログイン出来たら、構築完了です!

スポットインスタンスを停止してみる
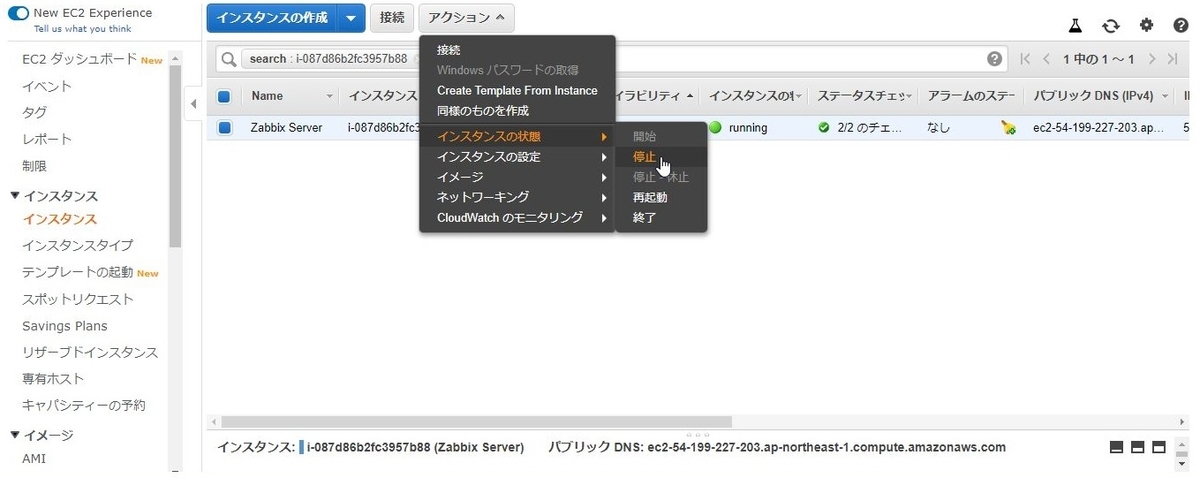
AWSのコンソール画面からEC2 → インスタンスへ移動します。
Zabbixサーバーにチェックを入れ、「アクション」→「インスタンスの状態」→「停止」をクリックします。
当たり前ですが、先ほど構築したZabbixも表示されません。

Zabbixサーバーを起動してみます。

グローバルIPが変更されているので、再びIPを確認し「 http://ZabbxiサーバのグローバルIP/zabbix 」にアクセスします。
Zabbixのログイン画面が表示されました!
感想
Azureでは、スポットインスタンス停止できるのに、AWSではできないのは不便だなーと考えていたので、今回スポットインスタンスが停止できてうれしいです。
これでより安価に色々試せますね!
Zabbixは、この状態でAMIを取っておけば、何時でも新規Zabbixサーバーを作成できるのでおすすめです!!
以上です。